


Of course following the Lithomex technical data sheet is important to ensure a quality application, but what about the little things that can’t fit on one sheet of paper? The small details that help make good finish “POP” into a quality indistinguishable patch. There are many things that are far to subtitle to translate onto paper from experience and feel of mortar and trowel. So practice, timing and tools are critical overview subjects to be discussed here.
Practicing patching old single salmon bricks not in a wall is a cheap and technically challenging exercise. The porosity of salmon bricks demonstrates the importance of controlling suction. If suction is not controlled, bond failure can occur while detailing outside corners. It’s these corners that give rise to the technical challenge. By coating multiple sides of a brick, it helps create focus on multiple surface planes. The initial reshaping step doesn’t have to be perfect. It just has to have about 1/8 inch extra material beyond the desired finish. Once Lithomex is well bonded to three sides of a brick, wait for the material to stiffen to thumbprint hard.
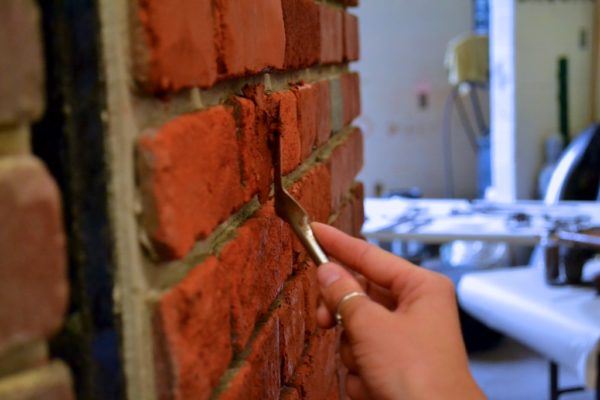
Re-troweling the surface will compact the patch to compensate for any slight shrinkage. While using trowels, squares, straight edges, miter rods and improvised tools to shave back and cut away undesired material to the finished profile will create the rough finish. When finishing a masonry unit in a wall, long metal straight edges are great to use as a profiling tool. With the edges exposed over to adjacent units or edges, they act as a guide to bring the finish to proper plane. Typically much of this profiling can be done in the first day of patching; however 12-24 hours later more intricate detailing and carving can be done. Tooth chisels can be used during this time frame to scratch in tooth marks or crandled finishes.
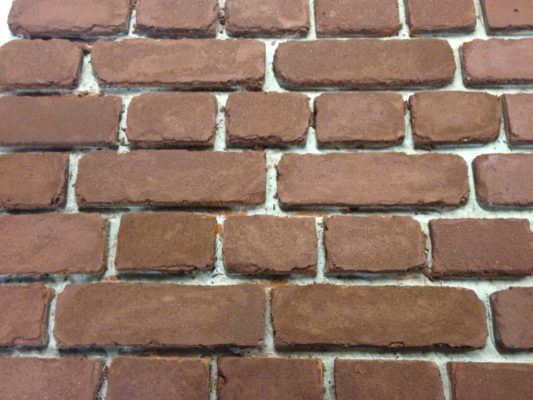
As more time is allowed to let the patch “firm up” stone masons chisels can be used in a traditional method to give more authentic characteristics. Sanders and rubbing block are also useful for honing the surface to a more polished or pristine finish.
Following these tips and practicing will build upon previous experiences for the craftsman or aspiring novice, facilitating a better rounded approach to brick, stone and terracotta patching.
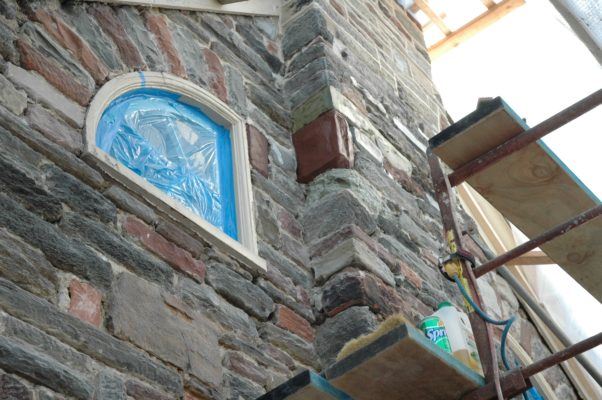
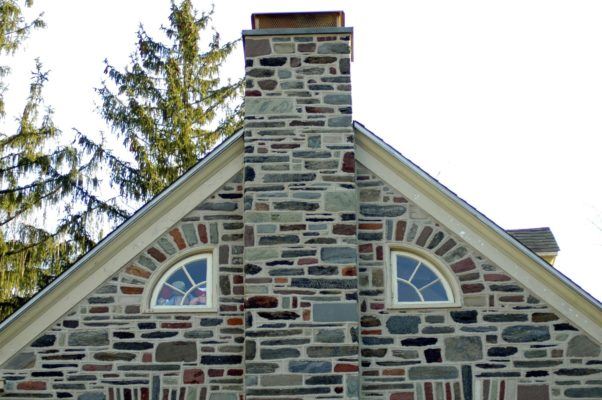
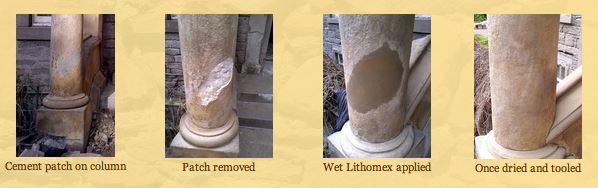
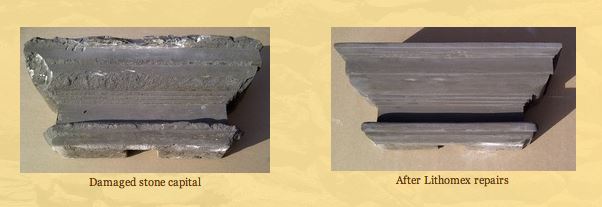
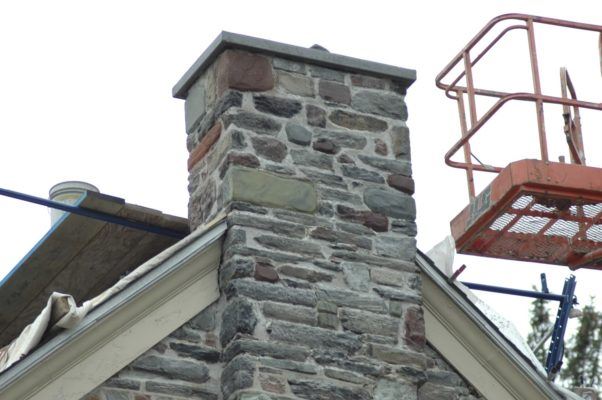
Other Examples in Use:


Originally written by: Randy Ruth
Presented by: LimeWorks.us
Phone: 215-536-6706


Awesome post! Keep up the great work!
The photos tell the whole story – you can clearly see the difference that using Lithomex makes. Good information to have as New England weather can really cause problems with masonry work.
Thanks for the post. I now have an idea about using Lithumex. The photos are beneficial. It’s a great supplement after I read this article about the benefits of brick restoration.
Basically, lithomex is a natural hydraulic lime material. Given that it is affordable and effective, the best reasons why lithomex is the best used for stone and brick repair than cement is that it is long-lasting, flexible, porous, and lets the building breathe. Honestly, our professional masonry contractor used that product.
I read your article about how Lithomex can help with repairing stones and bricks. I think it was an invaluable source of information! I hope you don’t mind me reaching out to you directly to see if there are any other questions that come up for me.
It’s great that you are sharing useful information. I enjoy reading your blog.
David, author, and owner of the blog https://thetrucks.us
Thanks for the great post on repairing broken and damaged stone and brick – I learned a lot!
Thanks for the post on repairing broken and damaged stone and brick! I’m sure a lot of people are wondering how to fix their old salmon bricks.
We’ve been practicing patching old single salmon bricks not in a wall for a while now and have had great success.
You did it so flawlessly!
Sanders and rubbing block are also useful for honing the surface to a more polished or pristine finish. That’s cool!